Why I'm Obsessed With the Dyson Airwrap
how to use it to get a salon quality blow-out.
“The Dyson Airwrap is a hair dryer, blow-out tool, and curler in one and like nothing I’ve ever experienced.”
I eyed this investment piece for over a year and waited until the Sephora sale to splurge. I have really thin and naturally frizzy hair, and I’d like to think I’ve become a PRO at mastering it.
So, how could a $500 hair tool make much of a difference?! LET ME TELL YOU!
Styling your hair usually means blow drying before styling, but the Dyson Airwrap styles wet to dry. Personally, I noticed a big difference from lower-end styling models that promise that ‘wet to dry’ magic over the years. In total, it takes me about 15 minutes for a finished look.
When using it, you can instantly tell it’s healthier for your hair vs. regular curling tools. Plus, I’ve noticed that it lasts a few days like a real salon worthy blow-out.
Read on for my full review and click the link below to get it on sale.
The technology

Dyson has created an aerodynamic technology that styles with ONLY air and heat preventing extreme heat damage.
If you think about it, you’re not flattening or burning your hair against a 350°F ceramic plate, but rather letting a hot air flow volumize and curl it at the same time. According to their site, “It regulates temperature with a built in thermastat that measures 40 times a second…which transmits data to the machine’s microprocessor intelligently controlling the heat.”
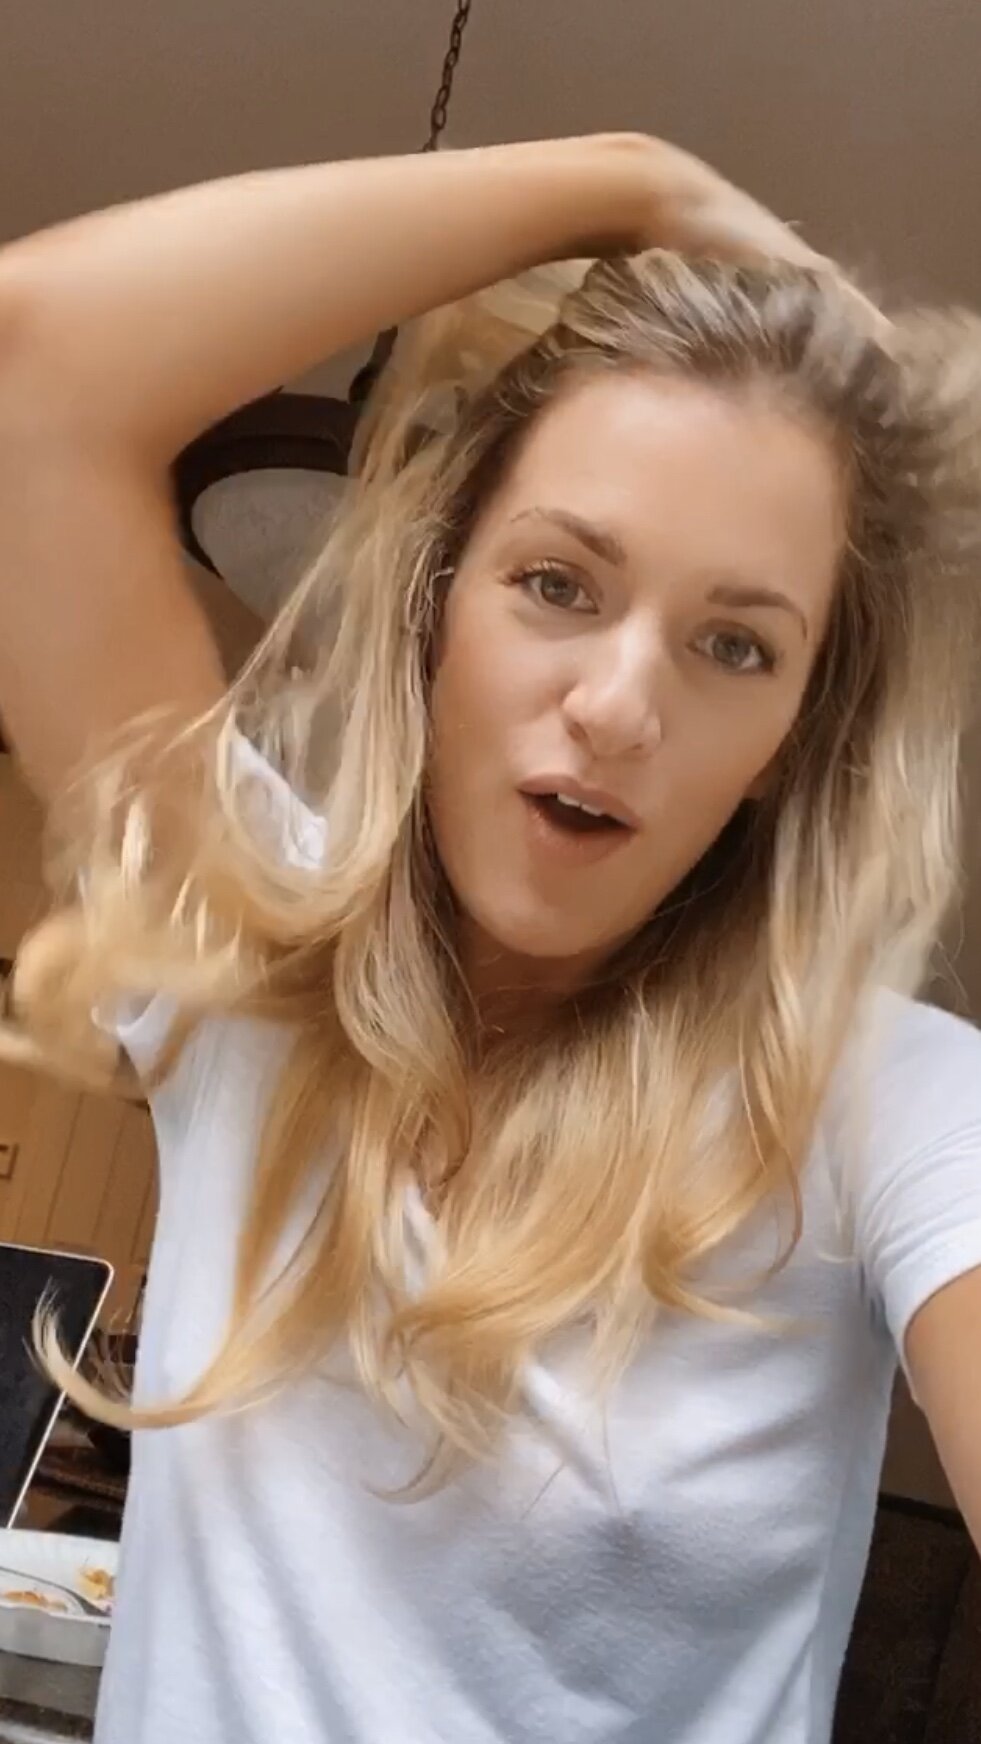
The technology gently grabs your hair and automatically wraps it around the barrel. I personally like to guide my hair from the roots to ensure the curl turns out exactly how I want (my IGTV tutorial shows you how to do this and I have a hack)! And similar to a blow out, your hair strands feel smoother and less frizzy. Other benefits include:
Negative ions - help reduce static in your hair
You won’t burn your ears or fingers anymore! It never gets too hot “to the touch”
What comes with it
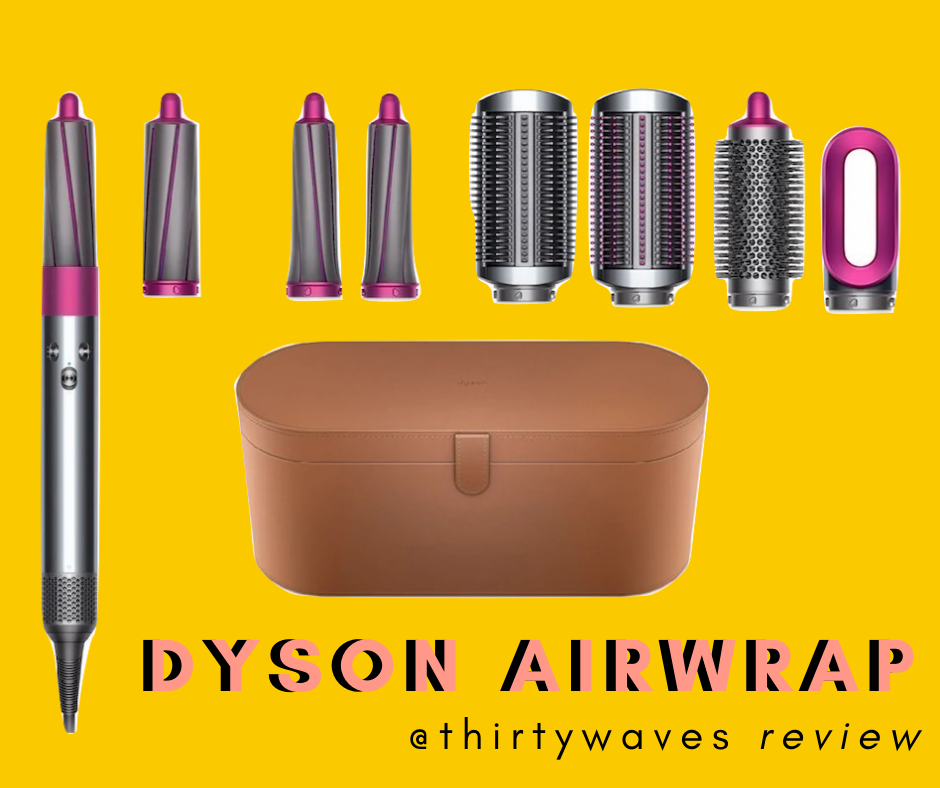
Thankfully, with the hefty price tag it comes with a lot! The different attachments will help you achieve different parts of your blow-out. Your case includes:
A really nice faux leather storage case
Smoothing, round, or soft brush depending on which case you buy
1 inch or 1.5 inch barrels (depending on which case you buy)
I personally wanted the two size of barrels (1 inch and 1.5 inch so I could change the curls depending on my mood), so I got the Airwrap Smooth + Styling Case found here.

How to use it

The Airwrap does the majority of the work for you. I’ll admit, it took me about a week to perfect but it’s actually really fun the more and more you get the hang of it. I’ve started looking forward to doing my hair and playing with it!
How to create voluminous curls:
Begin with wet hair, use the hair dryer attachment to get it about 75% dry
Attach one of the brushes to smooth out any waves you might have at the roots and the ends
Section hair and attach curling barrel
Take a small section of hair (about an inch) and starting with your root wrap your hair around the barrel. It’ll naturally gravitate towards it because of the air technology but I like to manually guide so it’s placed evenly.
Move it back and forth until it’s dry (which will smooth out the strands as well)
Push the cold shot to set the curl.
Switch off and pull down to release the curl.
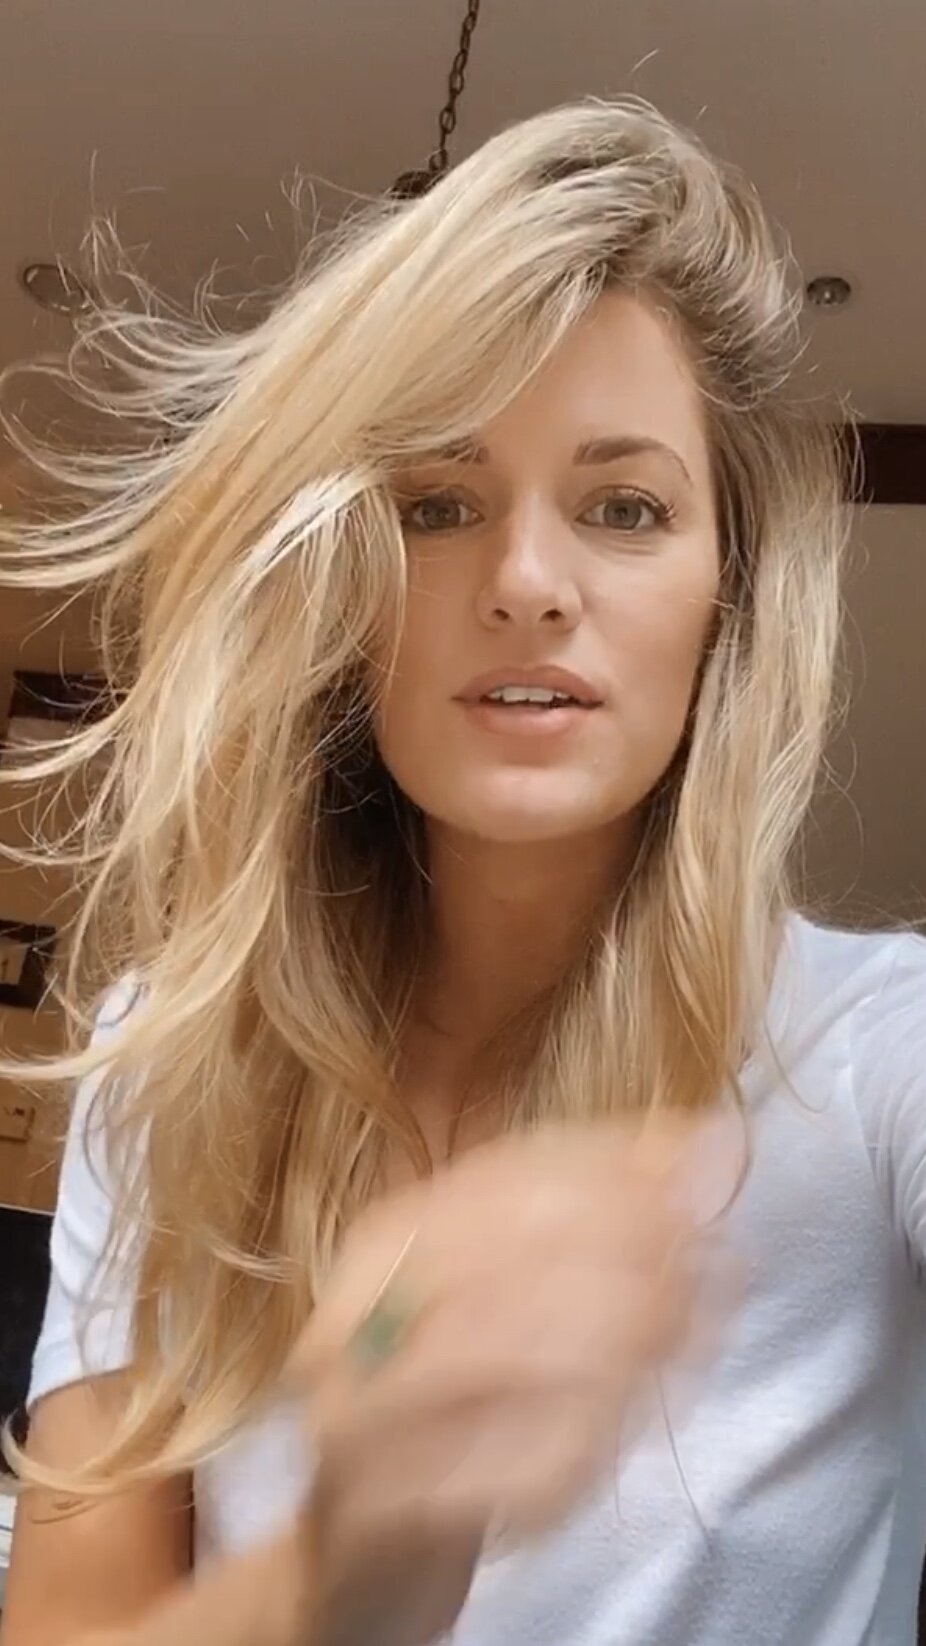
Gently loosen curl with your fingers to create a voluminous look.
I highly recommend watching my IGTV tutorial for tips and tricks:
Pro Tips + links :
Because of the $500 cost, the most important advice I can give is to get it from a store with a VERY good return policy so there’s no obligation to keep it if you don’t like it.
I think Sephora is best for that and they happen to be the only store to sell all three cases.
Even though I LOVE volume I decided to get the smooth + control case so I’d get both size barrels (1 inch + 1.5 inch barrel), otherwise the volume + shape case only has the 1 inch with a round brush. It’s up to you what’s most important!
Any questions or comments please let me know below! I do get credit when you purchase from my blog so please click through my links if you decide to try it. Thanks guys!
